
Add fulltextsearch to Ghost CMS with OpenSearch
This is the first part of a three part series looking at the use of OpenSearch in combination with Ghost CMS.
Before you start
If you take a closer look at my website, you will see that I have implemented a full text search. Please use this as a demonstration.
It's a little hidden in the burger menu on the right side when you pop it up.
This tutorial is actually applicable to any theme. However, you will need server access to make changes. You also need a server on which you can install OpenSearch and Java. We will configure a webhook in the course of the tutorial, which I realized with Python3. Your ghost instance should be behind a reverse proxy. We also need to make adjustments to the reverse proxy, in my case NGINX.
If you want to do customizations, you need some knowledge of Handlebars and OpenSearch query syntax. But this is so minimal that it shouldn't stop you from continuing.
General structure
The structure consists of two webhooks: one for the search and one for the index. The index is rebuilt every time you change your website, which is very fast with OpenSearch.
OpenSearch
Opensearch is the more open successor to Elasticsearch. The fork was created after unresolved licensing issues with Elasticsearch and is largely compatible with Elasticsearch.
The installation of OpenSearch is very well documented, so I'll just give a rough flow.
OpenSearch cannot be installed as root. It is best to create an extra user for this. OpenSearch does not generally require Java, but it does for the initial configuration, e.g. to change the default password of the admin user.
.
├── bin
├── config
├── data
├── jdk
├── lib
├── LICENSE.txt
├── logs
├── manifest.yml
├── modules
├── NOTICE.txt
├── opensearch-tar-install.sh
├── performance-analyzer-rca
├── plugins
├── README.md
└── securityadmin_demo.sh
Since I still have Elasticsearch listening on the default ports on my server, I need to change them. If you don't have Elasticsearch, you don't need to change the port to 9444 and 9555.
# commented out are only necessary if you use elasticsearch.
# http.port: 9444
# transport.tcp.port: 9555
cluster.name: opensearch-cluster
node.name: opensearch-node1
Change default password
When you run the command "opensearch-tar-install.sh" the admin user is created with the password admin. Of course we do not want that.
The password for admin resides hashed in the file:
config/opensearch-security/internal_users.ymlTo create a new password hash you need Java:
sudo apt install default-jdk
export JAVA_HOME="/usr/lib/jvm/java-17-openjdk-amd64"
OpenSearch provides its own tool for creating the hash:
plugins/opensearch-security/tools/hash.sh -p newPasswordThe environment variable JAVA_HOME must be mandatory set before!
Replace the old hash with any text editor with the new hash in the file "internal_users.yml".
For the changes to take effect, the server must be reconfigured using the securityadmin tool. A simple restart of OpenSearch is not sufficient:
JAVA_HOME="/usr/lib/jvm/java-17-openjdk-amd64" plugins/opensearch-security/tools/securityadmin.sh -f config/opensearch-security/internal_users.yml -t internalusers -icl -nhnv -cacert ./config/root-ca.pem -cert ./config/kirk.pem -key ./config/kirk-key.pem -p 9444
Start the OpenSearch service in daemon mode:
./opensearch-tar-install.sh -dThe execution file is located in the OpenSearch root directory.
Test with Curl whether the password has really been changed:
curl -k -X GET -u admin:<newPassword> "https://127.0.0.1:9444/_cat/indices?v=true&pretty"
health status index                        uuid                   pri rep docs.count docs.deleted store.size pri.store.size
green  open   .opensearch-observability    y0aRBOrCTcup3543pJyooA   1   0          0            0       208b           208b
yellow open   .plugins-ml-config           JUDISl4yT6qRWEkBGIM_Gw   1   1          1            0      3.9kb          3.9kb
yellow open   security-auditlog-2023.09.18 2brJtOBSRh2swvdakB5ilg   1   1         10            0      122kb          122kb
green  open   .opendistro_security         _ejmFwqYQOW3Id0LZIXXgg   1   0         10            0     75.6kb         75.6kb
NGINX configuration for webhooks
We need two webhooks. One webhook performs the search. The second one performs an indexing. Since the request should happen encrypted, we need the reverse proxy. As certificate you can use your Ghost CMS certificate. The webhooks will be /search and /buildindex.
location /search {
    if ($http_referer !~* (<CHANGETHISTOYOURWEBSITE>)) {
        return 403;
    }
    proxy_set_header X-Forwarded-For $proxy_add_x_forwarded_for;
    proxy_set_header X-Forwarded-Proto $scheme;
    proxy_set_header X-Real-IP $remote_addr;
    proxy_set_header Host $http_host;
    proxy_pass http://127.0.0.1:3444;
}

location /buildindex {

    proxy_set_header X-Forwarded-For $proxy_add_x_forwarded_for;
    proxy_set_header X-Forwarded-Proto $scheme;
    proxy_set_header X-Real-IP $remote_addr;
    proxy_set_header Host $http_host;
    proxy_pass http://127.0.0.1:3444;
}
Since we don't want any site to have access to your search, we restrict
Apache2:
    <Location /search>
        # Überprüfung des Referers
        SetEnvIf Referer "<CHANGETHISTOYOURWEBSITE>" allowed_referer
        Order deny,allow
        Deny from all
        Allow from env=allowed_referer

        # Proxy-Einstellungen
        ProxyPreserveHost On
        ProxyPass http://127.0.0.1:3444/search
        ProxyPassReverse http://127.0.0.1:3444/search
    </Location>

    # Für /buildindex
    <Location /buildindex>
        ProxyPreserveHost On
        ProxyPass http://127.0.0.1:3444/buildindex
        ProxyPassReverse http://127.0.0.1:3444/buildindex
</Location>Since only buildindex is really requested via GhostCMS webhooks, we can't introduce a restriction here due to problems with CORS. But we do this via the webhook script.
Prepare your Ghost instance
We need a content API key and also need to configure a webhook. Also, your theme needs to be customized on the front and back end.
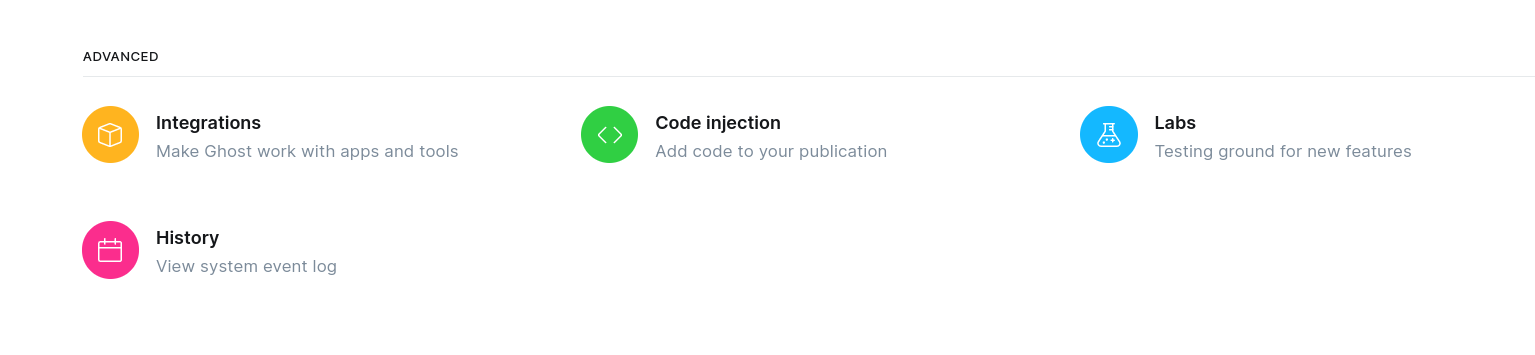
Go to settings/integrations and add a new custom integration.


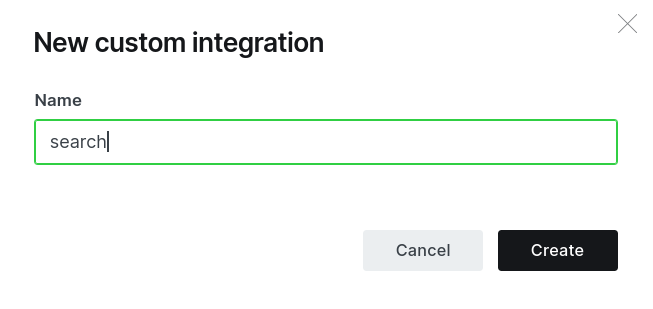
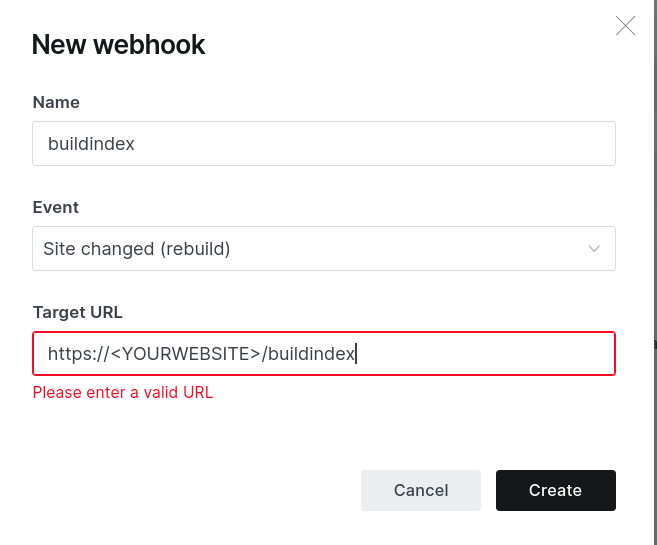
Copy the content API key and create a new webhook with event site changed. Target URL is your website/buildindex . You will need the key later.
Webhook
Clone the webhook script from github:
git clone https://github.com/sowoi/ghost-cms-content-apiThe necessary script is in the "opensearch_integration" folder.
The script requires the parameters to be entered either directly via the options or via .config file or environment variables.
We use the .config file here. Remember that you are responsible for the security of these parameters.
Fill in the required values after the =.
GHOST_API_URL="https://<YOURWEBSITE>/ghost/api/v3/content"
GHOST_API_KEY=''
OPENSEARCH_HOST='https://localhost:9444'
OPENSEARCH_INDEX_NAME=''
OPENSEARCH_USERNAME='admin'
OPENSEARCH_PASSWORD=''
Run it with a systemd unit file in /etc/systemd/system
[Unit]
Description=OpenSearch Hook Service
After=network.target

[Service]
EnvironmentFile=<SCRIPTLOCATION>.config
ExecStart=SCRIPTLOCATION>opensearchhook.py
Restart=always
User=<WEBHOOKUSER>
Group=<WEBHOOKUSER>
WorkingDirectory=SCRIPTLOCATION>opensearch
Environment="PATH=/home/<WEBHOOKUSER</.local/bin:/usr/local/sbin:/usr/local/bin:/usr/sbin:/usr/bin:/sbin:/bin"

[Install]
WantedBy=multi-user.target
Modify your Ghost CMS
Ghost CMS has a built-in search that is built into almost every theme. We need to replace this search.
Search for the button class gh-search
<button class="gh-search" data-ghost-search>{{> "icons/search"}}</button>and replace it with
<input type="text" id="searchInput" placeholder="Search..">
<button id="searchBtn" class="mb-10">Search</button>
<div id="searchResults"></div>Via code injections in the ghost cms backend add the following handlebar javascript to the header:
<script src="https://cdnjs.cloudflare.com/ajax/libs/handlebars.js/4.7.7/handlebars.min.js"></script>
Add the following javascript to your footer:
<script>
document.getElementById("searchBtn").addEventListener("click", performSearch);
document.getElementById("searchInput").addEventListener("keydown", function(event) {
    if (event.key === "Enter") {
        performSearch();
    }
});

function performSearch() {
    var query = document.getElementById("searchInput").value;

    fetch('https://<YOURWEBSITE>/search', {
        method: 'POST',
        headers: {
            'Content-Type': 'application/json'
        },
        body: JSON.stringify({
            query: query
        })
    })
    .then(response => {
        if (!response.ok) {
            return response.text().then(text => Promise.reject(text));
        }
        return response.json();
    })
    .then(data => {
        data.forEach(result => {
            if (result.html) {
                result.customHtml = result.html.substring(0, 800);
            } else {
                result.customHtml = "";
            }
        });
        sessionStorage.setItem('searchResults', JSON.stringify(data));

        window.searchResults = data;
        window.location.href = '/results/';
    })
    .catch(error => {
        console.error('Fehler:', error);
    });
}

</script>We just did the following: we created a listener that listens for clicks and enter input in the search box.
The handlebars script in the header is needed for the handlebars template of the search results.
{{!< default}}
<link
  rel="stylesheet"
  hef="https://cdn.jsdelivr.net/npm/[email protected]/dist/css/bootstrap.min.css"
  rel="stylesheet"
  integrity="sha384-EVSTQN3/azprG1Anm3QDgpJLIm9Nao0Yz1ztcQTwFspd3yD65VohhpuuCOmLASjC"
  crossorigin="anonymous"
>

<style>
  .custom-card {
    border: 1px solid #ddd;
    border-radius: 5px;
    padding: 10px;
    margin-bottom: 20px;
    box-shadow: 0 4px 6px rgba(0, 0, 0, 0.1);
  }

  .custom-card-title {
    font-size: 1.25rem;
    font-weight: bold;
  }

  .custom-card-text {
    font-size: 1rem;
  }
</style>

<div class="container">
  <div class="row">
    <div class="col-md-8 offset-md-2">
      <div id="searchResults" class="mt-5">
        <!-- thsi div shows searchresults -->
      </div>
    </div>
  </div>
</div>

<script>
document.addEventListener("DOMContentLoaded", function() {
  const searchResults = JSON.parse(sessionStorage.getItem('searchResults'));

  if (searchResults  && searchResults.length > 0) {
    const searchResultsDiv = document.getElementById("searchResults");
    searchResultsDiv.innerHTML = "";

    searchResults.forEach((result, index) => {
      // truncate HTML-text to 600 characters
      const truncatedHTML = result.html.substring(0, 600);

      const cardDiv = document.createElement("div");
      cardDiv.classList.add("custom-card", "mb-4");

      cardDiv.innerHTML = `
        <div class="card-body">
          <h5 class="card-title custom-card-title">${index + 1}. <a href="${result.url}">${result.title}</a></h5>
          <p class="card-text custom-card-text">${result.title}</p>
          <p class="card-text custom-card-text">${result.author}</p>
          <p class="card-text custom-card-text">${truncatedHTML}</p>
        </div>
      `;

      searchResultsDiv.appendChild(cardDiv);
    });
  } else {
    document.getElementById("searchResults").innerText = "no search results found.";
  }
});
</script>
Now create a new blank ghost cms page. In the opened tab for the page settings, select "Results" in the template field. If this entry does not appear, switch temporarily to another theme in the settings and back.
