
Push icinga2 metrics to Graphite
This is where the Graphite module steps in.
Graphite consists of three components:
- a Django-based web application that renders graphs and dashboards
- The Carbon metric processing daemons
- a time-series database called Whisper
I assume that icinga2 and icingaweb2 are already installed.
Install Graphite
You can install Graphite only limited via apt repo. This makes future updates a nightmare. That's why we don't try this way at all.
The normally easy way via Docker makes the later necessary configuration for icingaweb unnecessarily complicated.
We use the installation via Python Pip with virtual environment.To do this, we first create a Python virtual environment and install the current installation files via git.
# install prerequisites #
apt install python3 python3-pip
cd /opt/
python3 -m venv graphite
# Activate virtual environment
source graphite/bin/activate
pip3 install Django==3.2
pip3 install Twisted==16.6
# Install all Graphite components
export PYTHONPATH="/opt/graphite/lib/:/opt/graphite/webapp/"
pip install --no-binary=:all: \
https://github.com/graphite-project/whisper/tarball/master
pip install --no-binary=:all: \
https://github.com/graphite-project/carbon/tarball/master
pip install --no-binary=:all: \
https://github.com/graphite-project/graphite-web/tarball/master

# Install Postgre SQL module
pip3 install psycopg2-binaryCheck installed Python module versions:
pip3 freeze

asgiref==3.5.2
attrs==22.1.0
Automat==0.4.0
cachetools==5.2.0
cairocffi==1.3.0
carbon==1.2.0
cffi==1.15.1
constantly==15.1.0
Django==3.2.15
django-tagging==0.4.3
hyperlink==21.0.0
idna==3.4
incremental==21.3.0
psycopg2-binary==2.9.3
pycparser==2.21
pyhamcrest==2.0.4
pyparsing==3.0.9
pytz==2022.2.1
six==1.16.0
sqlparse==0.4.2
Twisted==16.6.0
txAMQP==0.8.2
urllib3==1.26.12
whisper==1.2.0
zope.interface==5.4.0
Beware:
Graphite is not compatible with Django 4 and needs 3.2. Furthenmore Carbon is not compatible with Twisted higher version 17.
You can unstall modules by:
pip3 uninstallYou can install a specific module version by:
pip3 install Django==3.2
pip3 install Twisted==16.6
Configure Postgre SQL database
Graphite will by default use a SQLite database, but SQLlite is only suitable for testing purposes and will be overwhelmed very quickly with Graphite. We use PostgreSQL instead:
apt install postgresql

# Create Postgre SQL User graphite
sudo -u postgres createuser --pwprompt --no-createrole \
--no-superuser --no-createdb --login graphite

# Create database graphite and set owner to graphite
sudo -u postgres createdb --owner=graphite graphite
Create a graphite user and set rights
useradd -d /opt/graphite -s /bin/bash -M -r graphite
chown -R graphite:graphite /opt/graphite
chmod g+w -R /opt/graphite
usermod -aG www-data graphiteConfigure carbon cache and relay
cd /opt/graphite/conf
cp carbon.conf.example carbon.conf
cp storage-schemas.conf.example storage-schemas.conf
cp storage-aggregation.conf.example storage-aggregation.conf
cp graphite.wsgi.example graphite.wsgiConfigure carbon.conf
# uncomment the following line
LOCAL_DATA_DIR = /opt/graphite/storage/whisper/

# Change th following line
USER = graphite
WHISPER_LOCK_WRITES = True
GRAPHITE_URL = http://127.0.0.1:8090


# Comment out the following lines
# LINE_RECEIVER_PORT = 2003
# UDP_RECEIVER_PORT = 2003
# PICKLE_RECEIVER_PORT = 2004
# CACHE_QUERY_PORT = 7002
# RELAY_METHOD = rules
# DESTINATIONS = 127.0.0.1:2004


# add the following lines
[cache:a]
LINE_RECEIVER_PORT = 2003
PICKLE_RECEIVER_PORT = 2004
CACHE_QUERY_PORT = 7002

[cache:b]
LINE_RECEIVER_PORT = 2103
PICKLE_RECEIVER_PORT = 2104
CACHE_QUERY_PORT = 7102

[relay]
LINE_RECEIVER_INTERFACE = 0.0.0.0
# you can use 127.0.0.1 if Icinga is on the same server
LINE_RECEIVER_PORT = 2013
RELAY_METHOD = consistent-hashing
DYNAMIC_ROUTER = True
DESTINATIONS = 127.0.0.1:2004:a,127.0.0.1:2104:b
DESTINATION_PROTOCOL = pickle
DESTINATION_TRANSPORT = none
PICKLE_RECEIVER_INTERFACE = 0.0.0.0
PICKLE_RECEIVER_PORT = 2014
PICKLE_RECEIVER_MAX_LENGTH = 1048576
Specify retention times for metrics, otherwise the hard disk will sooner or later fill up:
[icinga-services]
pattern = ^icinga2\..*\.services\.
retentions = 15m:6w,30m:26w,120m:2y

[icinga-hosts]
pattern = ^icinga2\..*\.hosts\.
retentions =  1m:6w,5m:26w,15m:55w,120m:2y

[carbon]
pattern = ^carbon\.
retentions = 60:90d

[default_1min_for_1day]
pattern = .*
retentions = 60s:1d
How to read the retention policy?
1m:6w,5m:26w,15m:55w,120m:2y bedeutet
store a resolution of 1m for 6 weeks, 5 minutes for 26 weeks, etc.
All resolutions must be multiples of each other.
For this example:
1 times 5 = 5 * 3 = 15 * 8 = 120
What would not work:
1m:6w,7m:19w,15m:40w,159m:2y
You would get consumptions and gaps in the metrics.
Since the carbon cache will not start automatically, we create a SystemD unit file in /etc/systemd/system/
[Unit]
Description=carbon-cache instance %i (graphite)

[Service]
Environment=PATH=/opt/graphite/bin:/usr/local/bin:\
/usr/bin:/usr/local/sbin:/usr/sbin
Environment=VIRTUAL_ENV=/opt/graphite
User=graphite
Group=graphite
ExecStartPre=/bin/rm -f \
/opt/graphite/storage/carbon-cache-%i.pid
ExecStart=/opt/graphite/bin/carbon-cache.py --instance=%i \
start --pidfile=/opt/graphite/storage/carbon-cache-%i.pid
Type=forking
PIDFile=/opt/graphite/storage/carbon-cache-%i.pid
LimitNOFILE=128000

[Install]
WantedBy=multi-user.targetRelay service
[Unit]
Description=Graphite Carbon Relay
After=network.target

[Service]
Environment=/opt/graphite/bin:/usr/local/bin:\
/usr/bin:/usr/local/sbin:/usr/sbin
Environment=VIRTUAL_ENV=/opt/graphite
Type=forking
StandardOutput=syslog
StandardError=syslog
ExecStart=/opt/graphite/bin/carbon-relay.py \
--config=/opt/graphite/conf/carbon.conf \
--pidfile=/opt/graphite/storage/carbon-relay.pid start
ExecReload=/bin/kill -USR1 $MAINPID
PIDFile=/opt/graphite/storage/carbon-relay.pid
Restart=always

[Install]
WantedBy=multi-user.target
Create local setting file
# Create a SECRET_KEY
echo -n "Enter random phrase: " && head -1 </dev/stdin \
| tr -d '\n' | sha256sum | cut -d" " -f1
Enter random phrase: <InserYourRandomPhrase>
# Copy and paste keyCopy example local_settings file
cp /opt/graphite/webapp/graphite/local_settings.py.example \
/opt/graphite/webapp/graphite/local_settings.pyNow edit your local_settings.py and change secret_key, time_zone, logging and database entries.
SECRET_KEY = <Output of Create SECRET_KEY>
ALLOWED_HOSTS = [ 'YOUR_ICINGA2_SERVER_IP' ]
TIME_ZONE = your local timezone, i.e. Europe/Berlin
# Set the default short date format.
# See strftime(3) for supported sequences.
DATE_FORMAT = '%d.%m'

# Logging
# These can also be configured using Django's LOGGING:
# https://docs.djangoproject.com/en/1.11/topics/logging/

LOG_ROTATION = True
LOG_ROTATION_COUNT = 1
LOG_RENDERING_PERFORMANCE = True
LOG_CACHE_PERFORMANCE = True
#LOG_INFO_PERFORMANCE = False
# Filenames for log output, set to '-' to log to stderr
LOG_FILE_INFO = 'info.log'
LOG_FILE_EXCEPTION = 'exception.log'
LOG_FILE_CACHE = 'cache.log'
LOG_FILE_RENDERING = 'rendering.log'

# Enable full debug page display on exceptions
# (Internal Server Error pages)
DEBUG = True

##########################
# Database Configuration #
##########################

DATABASES = {
    'default': {
        'NAME': 'graphite',
        'ENGINE': 'django.db.backends.postgresql_psycopg2',
        'USER': 'graphite',
        'PASSWORD': 'YOUR graphite user Password',
        'HOST': 'localhost',
        'PORT': '5432'
    }
}

#########################
# Cluster Configuration #
#########################
CARBONLINK_HOSTS = ["127.0.0.1:7002:a", "127.0.0.1:7102:b"]
CARBONLINK_TIMEOUT = 1.0
CARBONLINK_RETRY_DELAY = 15
# Seconds to blacklist a failed remote server
Run initial migrate:
django-admin migrate \
--pythonpath /opt/graphite/webapp \
--settings graphite.settings \
--run-syncdb
\--noinputCreate a graphite web superuser:
django-admin createsuperuser \
--pythonpath /opt/graphite/webapp \
--settings graphite.settings
Username (leave blank to use 'root'):
Email address: [email protected]
Password:
Password (again):
Superuser created successfully.
Test if setup works:
django-admin.py runserver \
--pythonpath /opt/graphite/webapp \
--settings graphite.settings 0.0.0.0:8090

Performing system checks...

System check identified no issues (0 silenced).
September 18, 2022 - 16:54:54
Django version 3.2.15, using settings 'graphite.local_settings'
Starting development server at http://0.0.0.0:8090/
Quit the server with CONTROL-C.
You should see your graphite GUI on http://<your_icinga_web2_IP>:8090
At this time it should be pretty empty:
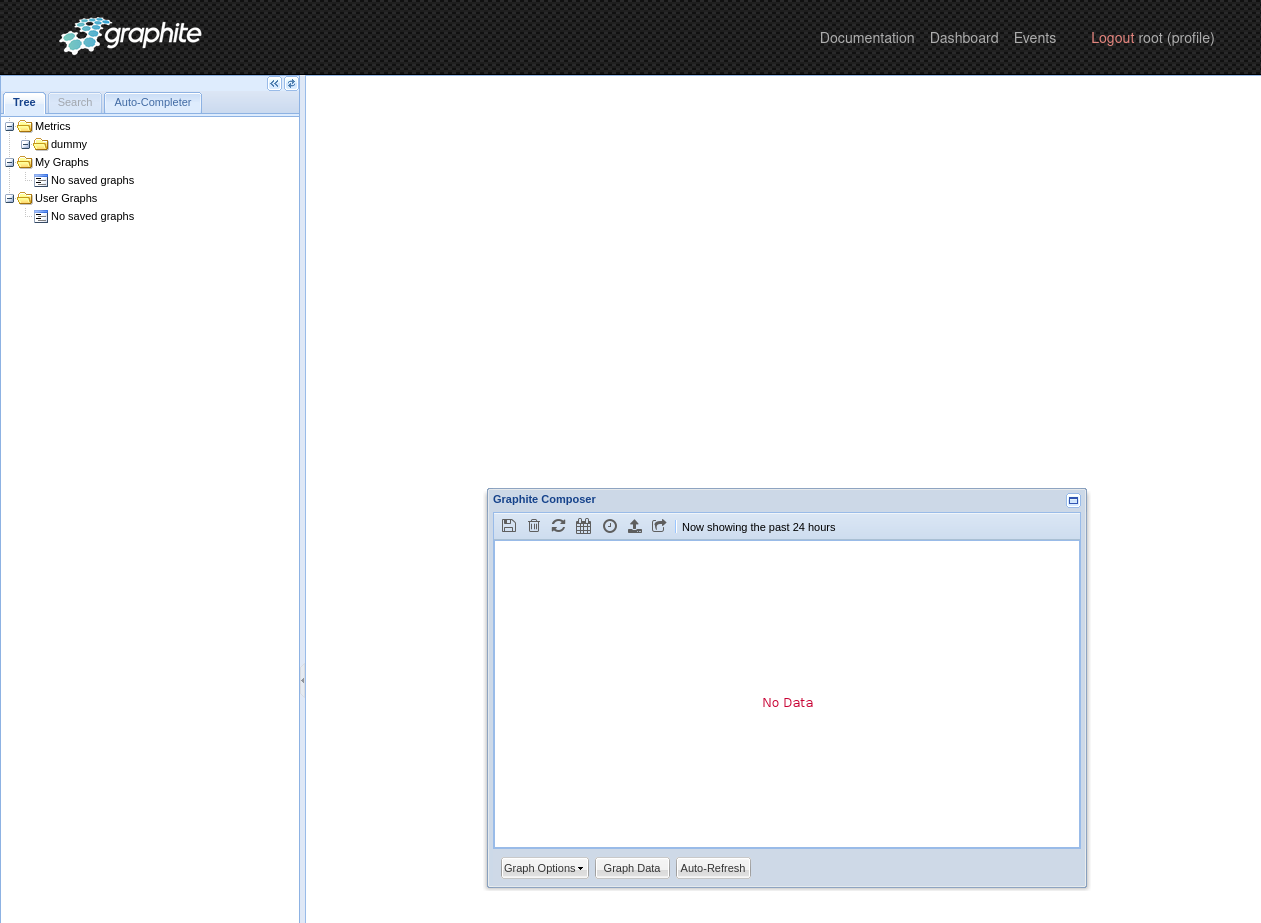
Setup Graphite Web
Create a new Service unit file graphite.service in /etc/system/system/
[Unit]
Description=Graphite Webserver

[Service]
Environment=PATH=/opt/graphite/bin:/usr/local/bin:\
/usr/bin:/usr/local/sbin:/usr/sbin
Environment=VIRTUAL_ENV=/opt/graphite
Environment=PYTHONPATH=/opt/graphite/webapp:/opt/graphite
User=graphite
Group=graphite
WorkingDirectory = /opt/graphite/webapp
PIDFile = /opt/graphite/storage/graphite.pid
ExecStart=/opt/graphite/bin/django-admin runserver \
--pythonpath /opt/graphite/webapp \
--settings graphite.settings 0.0.0.0:8090
Type=oneshot


[Install]
WantedBy=multi-user.target
Enable via
systemctl enable --now graphite.serviceInstall Graphite Module in icinga2
Go to /usr/share/icingaweb2/modules/ and clone the repo:
cd /usr/share/icingaweb2/modules/
git clone https://github.com/Icinga/icingaweb2-module-graphite
mv icingaweb2-module-graphite/ graphite/
Enable Graphite for icinga2
icinga2 feature enable graphiteEdit your graphite config:
/**
 * The GraphiteWriter type writes check result metrics and
 * performance data to a graphite tcp socket.
 */

object GraphiteWriter "graphite" {
  //host = "127.0.0.1"
  //port = 2013
  enable_send_thresholds = true
  enable_send_metadata = true
}
Configure Graphite via icingaweb2 GUI or via CLI
[graphite]
url = "yourgraphiteIP:8090"
insecure = "1"
user = "root"
password = "yourpassword"

[ui]
default_time_range = "1"
default_time_range_unit = "hours"
disable_no_graphs_found = "1"
Last but not least, restart icinga2:
systemctl restart icinga2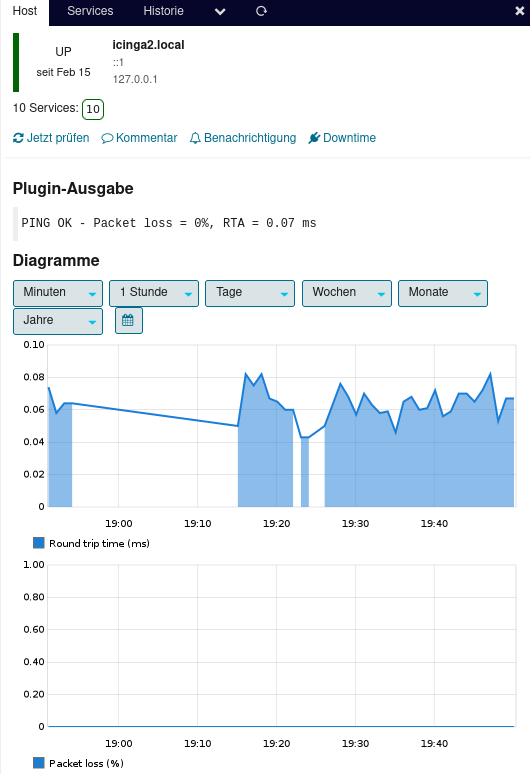
A few notes
Metrics and time series are a relatively complex field of computer science and yes, the whole thing cannot be fully understood without an introduction to numerics.
What we have done in this howto is standard in monitoring tools like Prometheus. If you prefer that, you should switch to Prometheus altogether.
The cached graphs can get very large very quickly. If you are using Graphite, it is important to monitor disk space usage.
If you want to do more with the graphics than just displaying a history in icingaweb2.
The visualization tool Grafana is able to do even more.
I will write more about this in the future.
The basic idea of this tutorial comes from here. Unfortunately it is no longer up to date and does not work on Debian 11 systems.